finally naka pagpicture na din ng build haha...here we go guys... if may mali paki correct na lang
built using fatty V2, gauge .16 kanthal, and 2mm 2wick
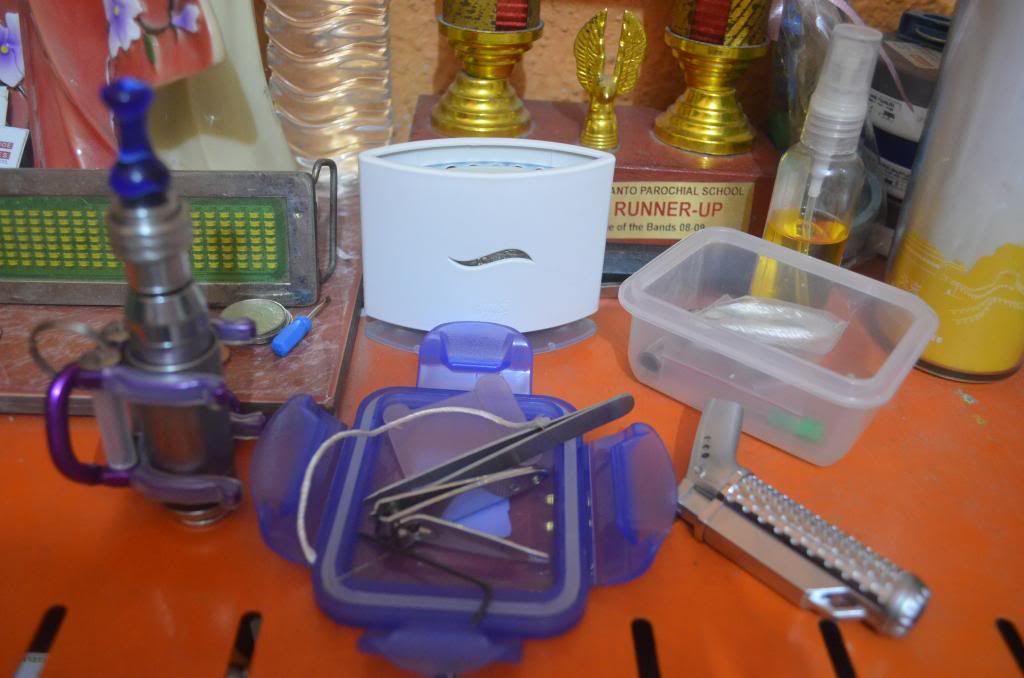
step1: prepare all the necessary tools in building para madali ang buhay, i always use nail cutter, tweezers, needle, allen wrench, and of course your kanthal wire and wick
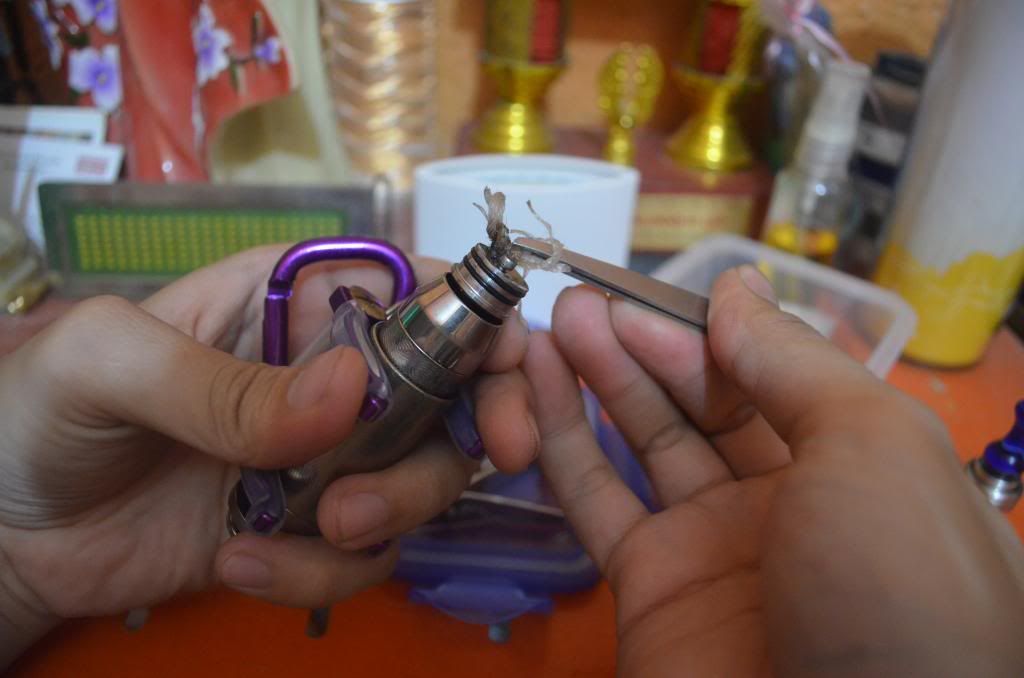
step2: loosen the screws, then remove your previous build using the tweezers, after removing wipe the atty with a tissue or a clean cloth to maintain it's cleanliness and avoid stains from juice or burn marks from the build
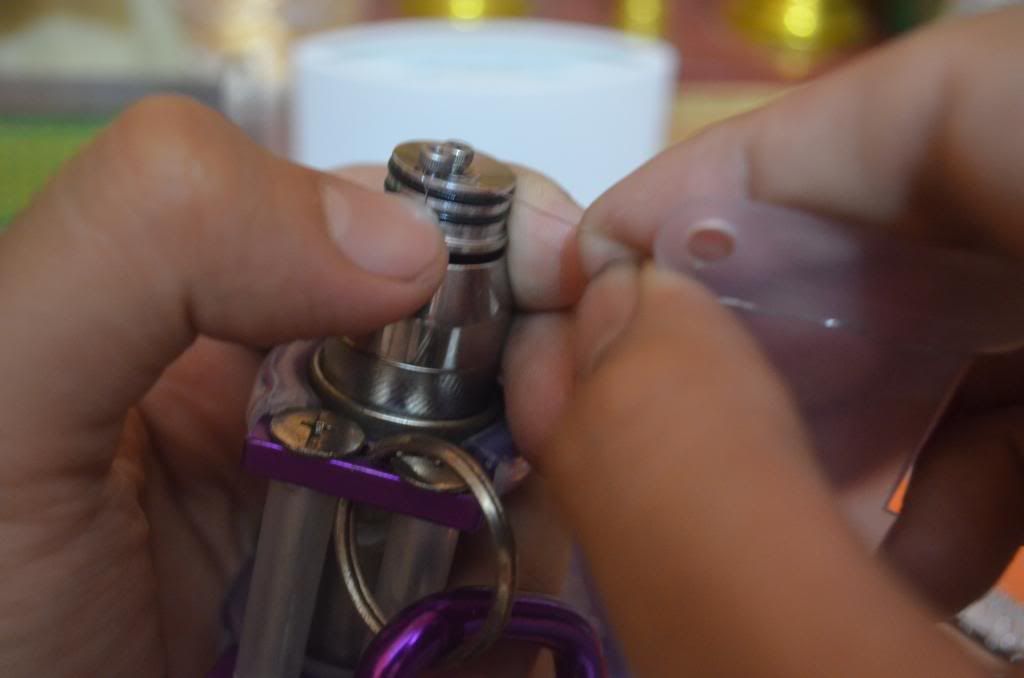
step3: place tip of the kanthal wire between your thumb and the base of the atty(part with the o-ring), make sure to secure the kanthal between the two, then using your free hand twist it away from you and loop around the screw, lock it under the screw as you pull lightly to make sure that contact between the negetive screw and the kanthal is made, finally tighten the negative screw to lock the kanthal wire in place
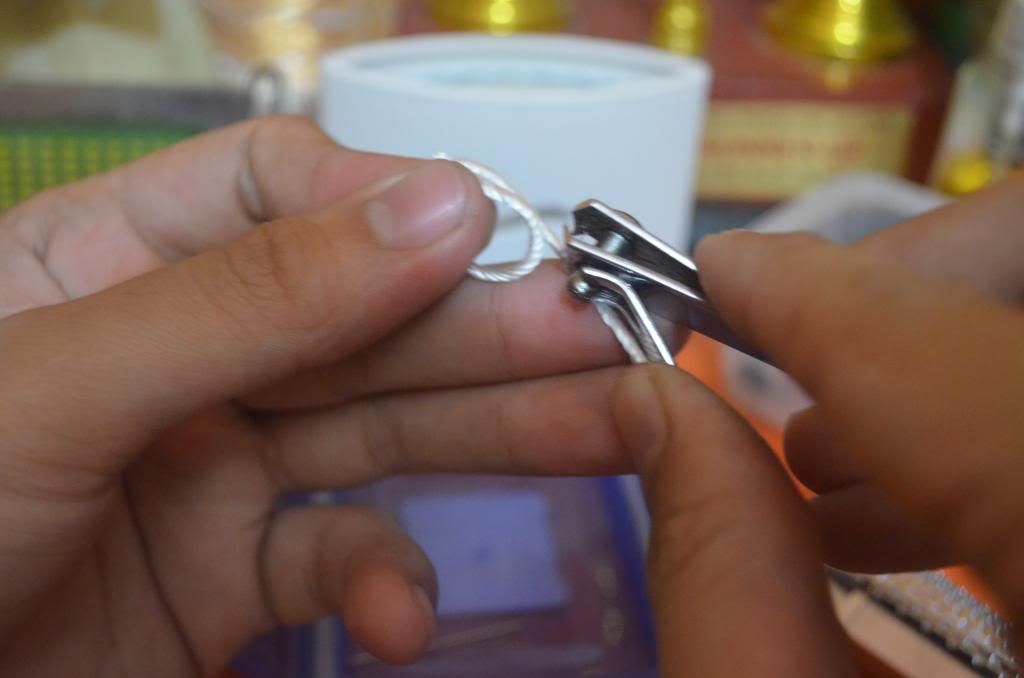
step4: cut your desired length for the wick(for this one i'm using 2folds/3strands)
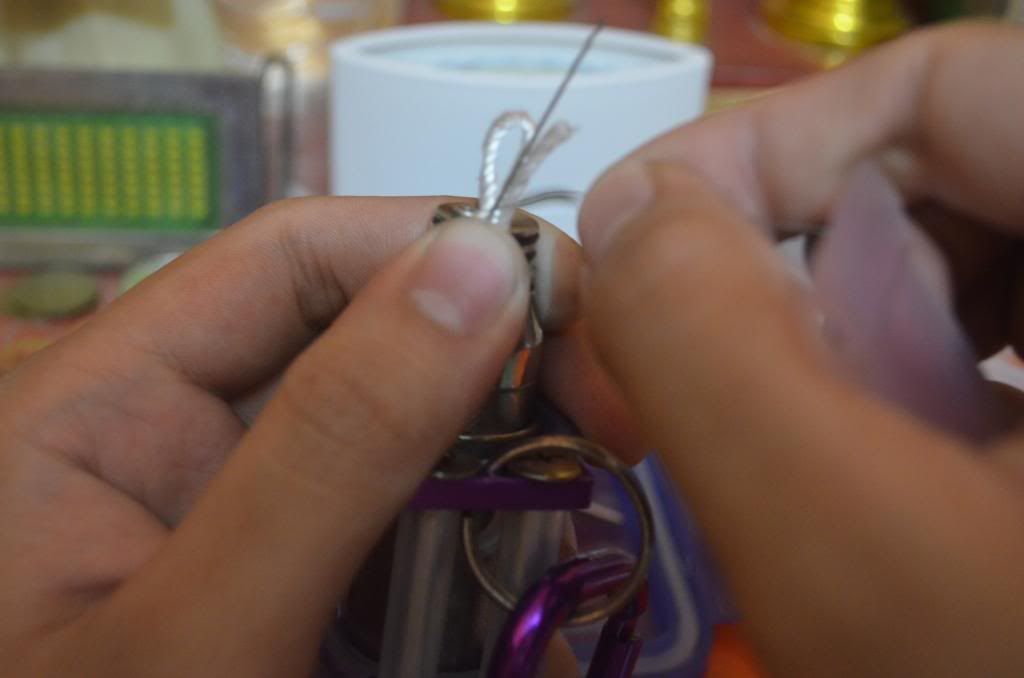
step5: using the needle as guide, place the wick between the atty and the kanthal, hold firmly with thumb and base using the same method in step3, in a counter-clockwise direction loop the wick around the kanthal(the needle acts as a brace, para di sumayaw ang wick), in this one i used three loops, but you can always use four or five loops to ensure the safety of your unit
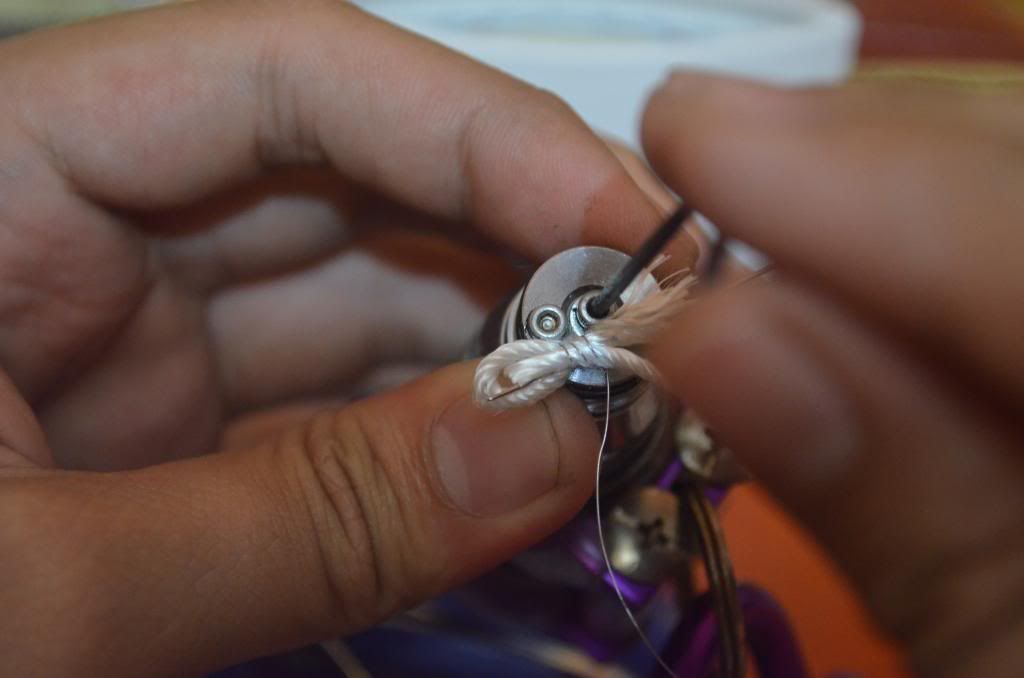
step6: lay the wick and kathal down, loop the other end of the kanthal around the positive screw, secure the connection again then tighten the screw
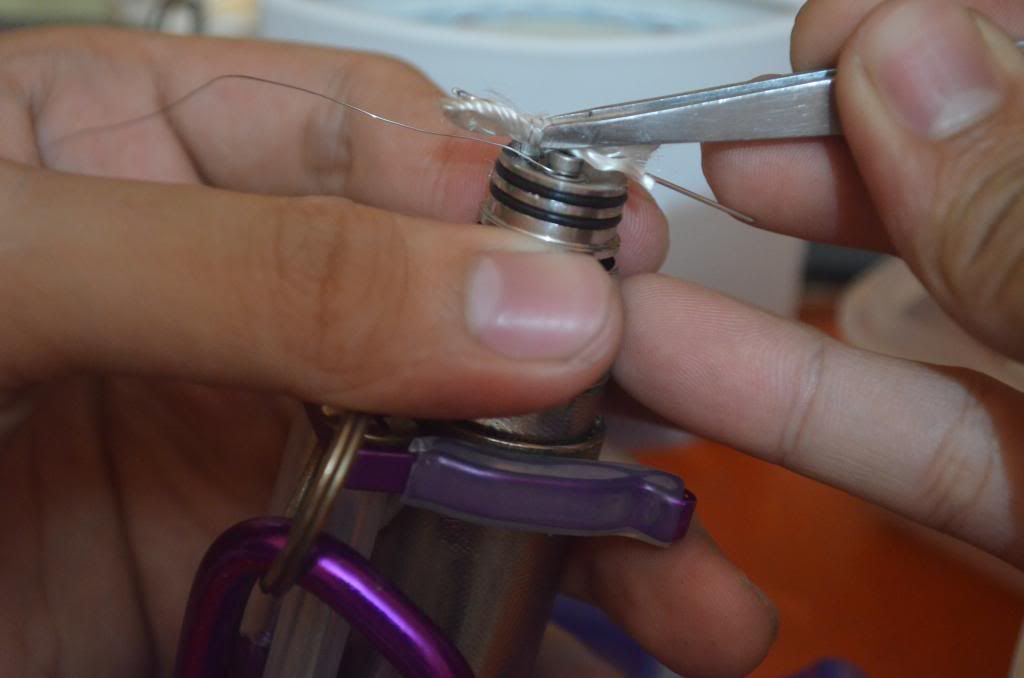
step7: make sure your build is not sticking to the base of the atty to avoid burns, use tweezers too adjust the position of the build, remove the neddle, and cut the excess kanthal
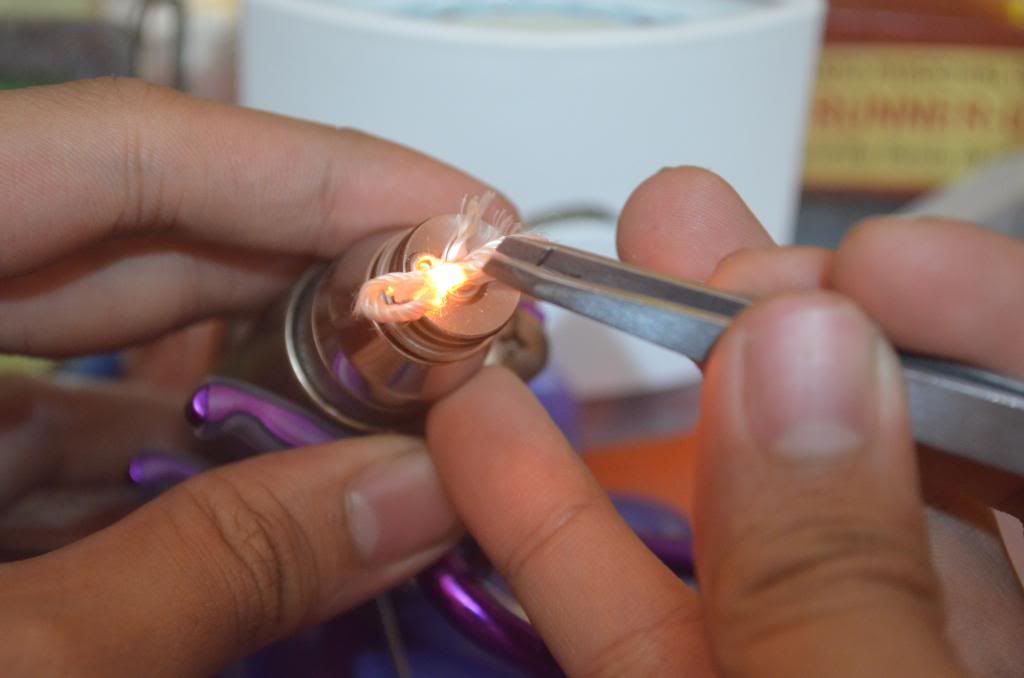
step8: try the build first before applying your juice, make sure there are no hotspots, and that the heat is evenly distributed in the kanthal, use tweezers to adjust the position of the loops(kanthal) if there are hot spots
finall apply juice. put back the top cap and enjoy vaping


