Alright, now it's time to take a shot at WET Sanding.
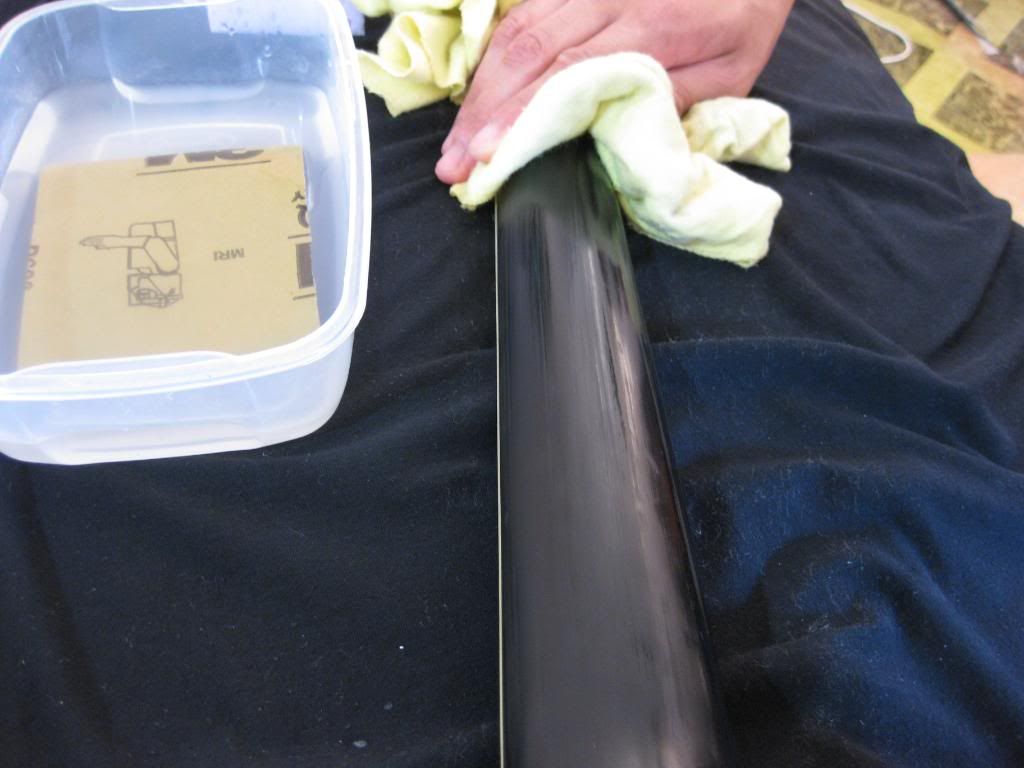
Here are the tools of the trade.
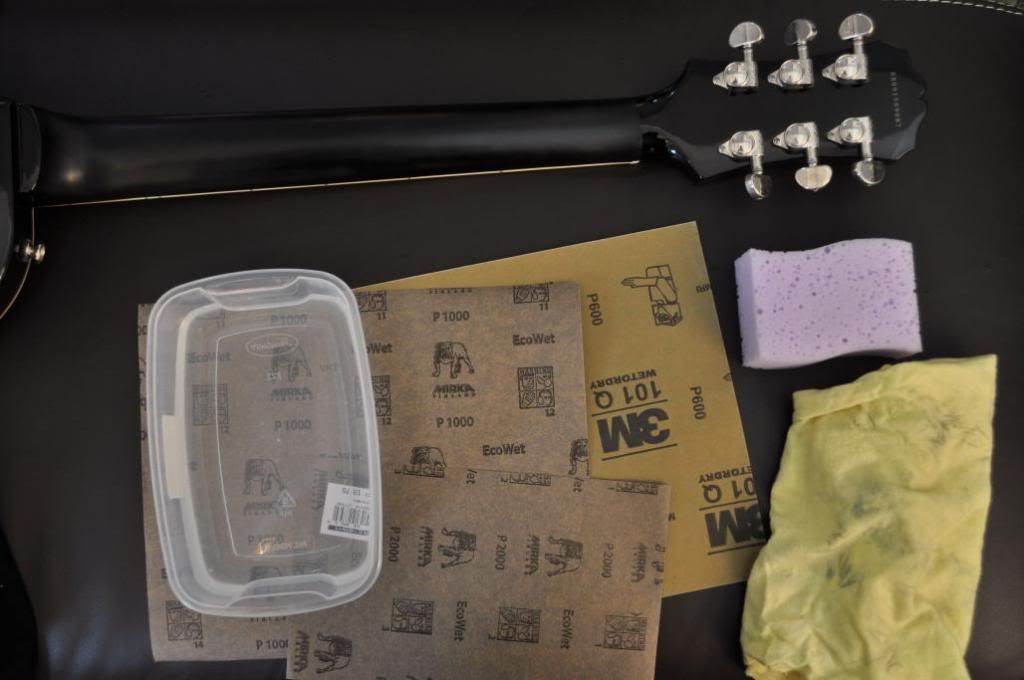
We have a bowl of water, a 600 grit wet/dry sandpaper, a 1000 grit wet sandpaper, a squegee, and a dry cloth. Also, you'd want to make sure you have a sandpaper for wetsanding. The dry sandpaper has some glue in them that holds the sanding particles onto the paper. That glue may dissolve when you start putting water in it. So, check your labels.
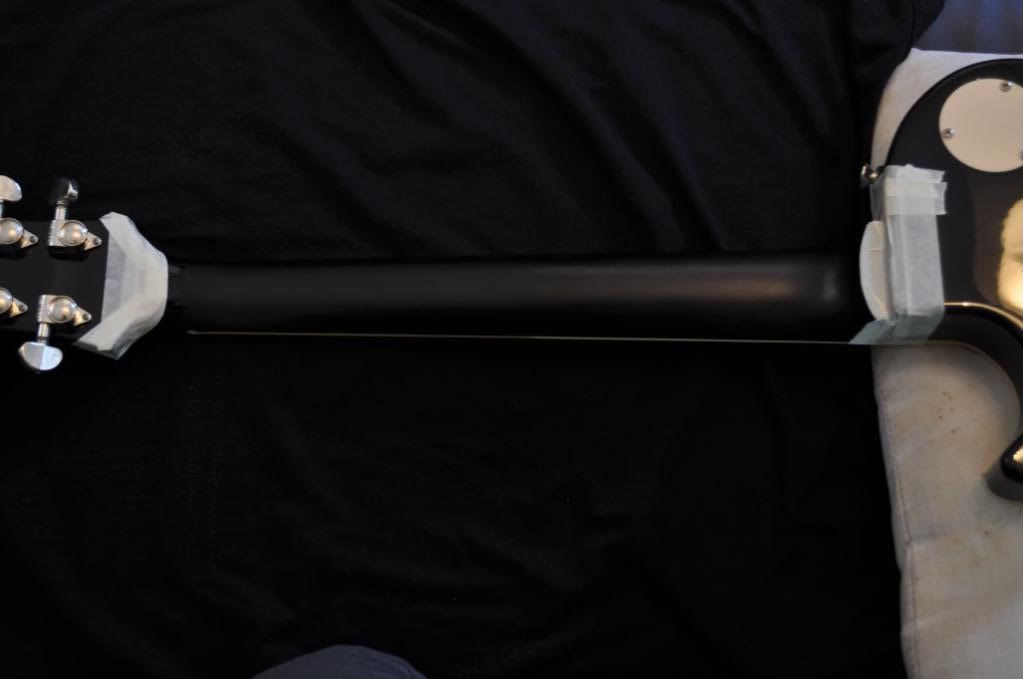
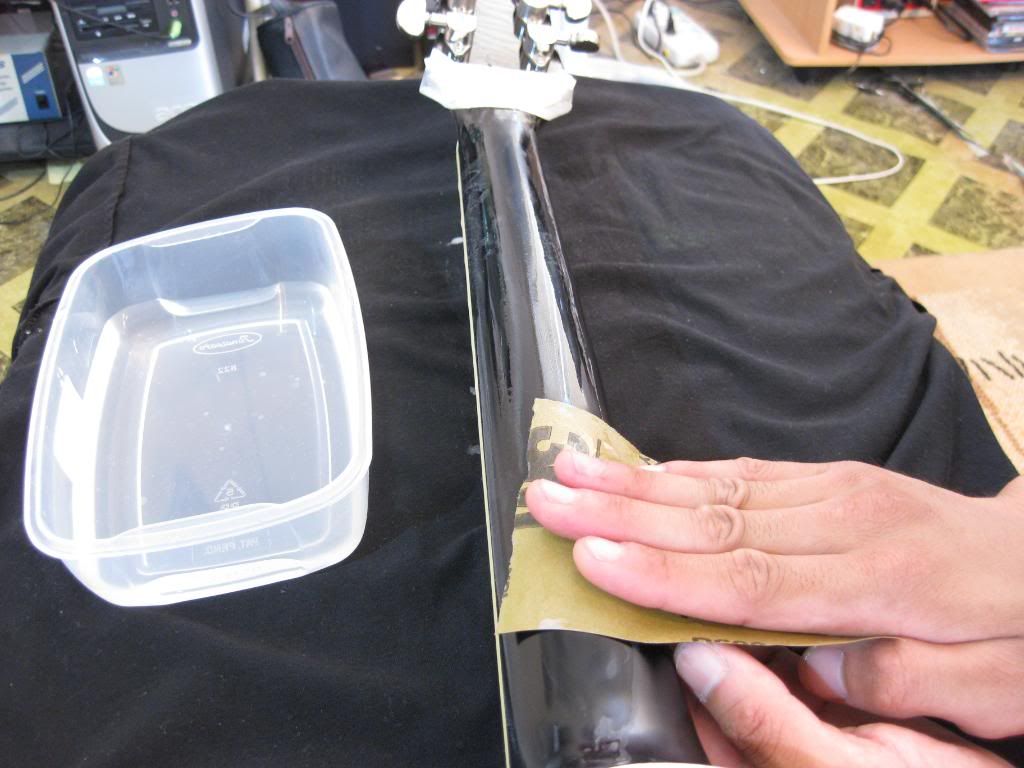
Again, I masked the ends of the neck to make sure we don't accidentally sand some forbidden surfaces.

First pass, I dipped the 600 grit and run it through the entire neck. Again, long and even strokes. Since there already a considerable amount of poly that was taken off due to the DRY sanding before, I made sure that I just did very light strokes. We don't want to completely strip off the poly and expose the paint.
Notice that some milky stuff will accumulate while sanding. Every so often, I took the squegee, dip it into the water and take off that milky stuff. This should make sure your getting a uniform traction with the poly surface.
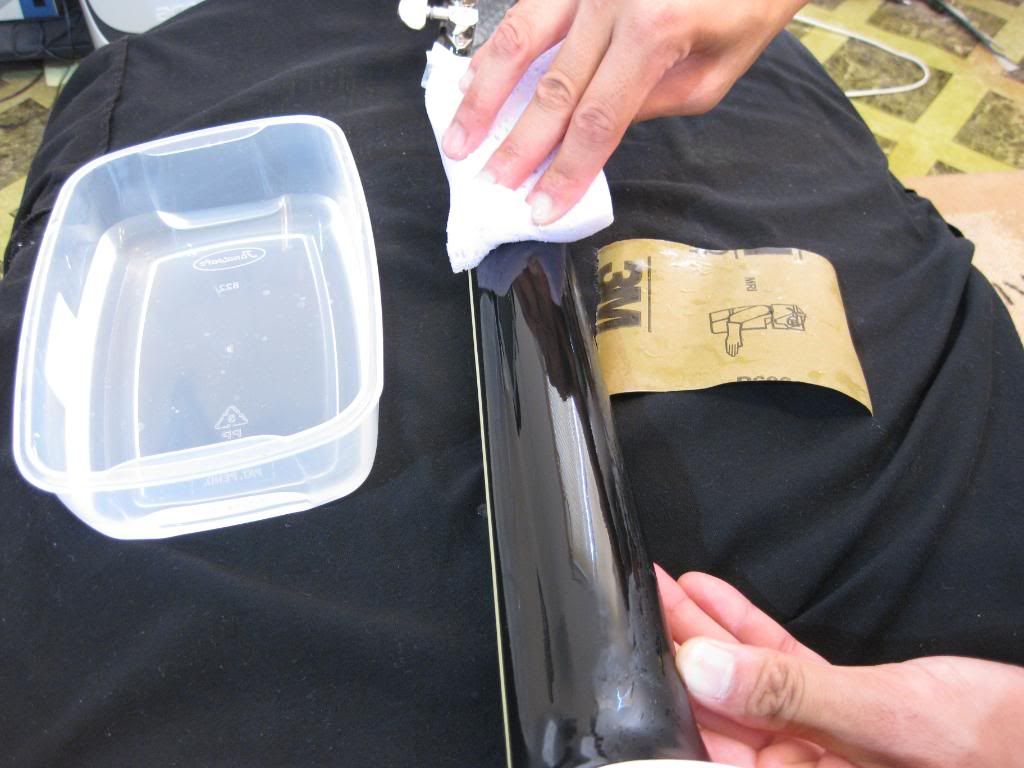
After a few passes of sandpaper and squegee, I wipe it off with dry cloth check the entire surface of the neck if another pass is needed.
Second pass, I moved up to 1000-grit ecowet sandpaper. Basically, the idea is to smoothen out the scratches from the 600-grit sandpaper. No need to use steel wool this time.
Here are the final results:
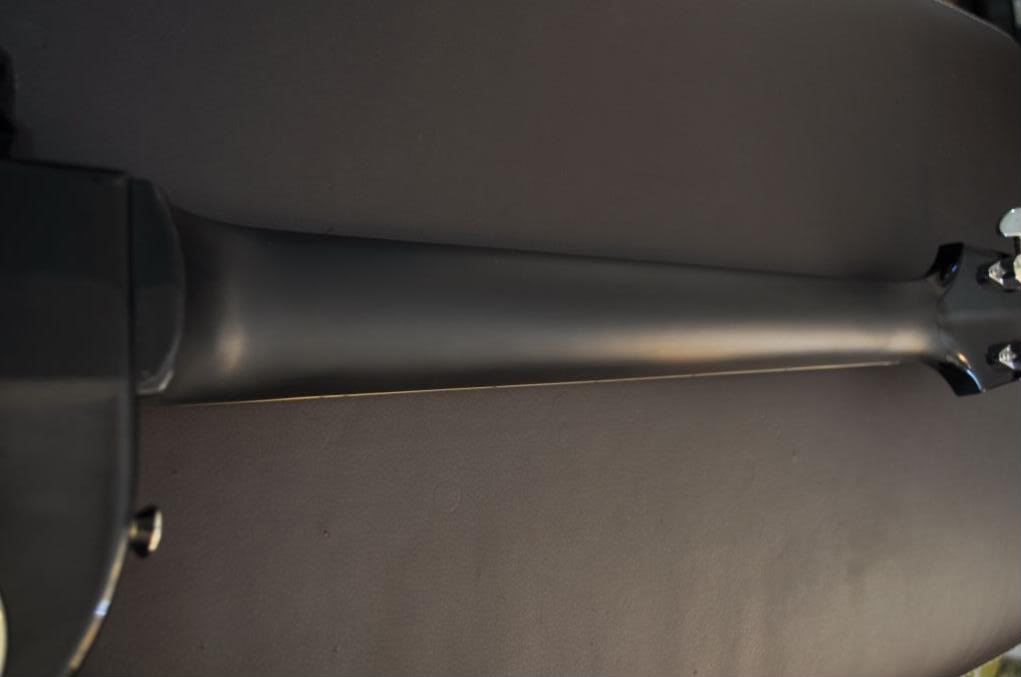
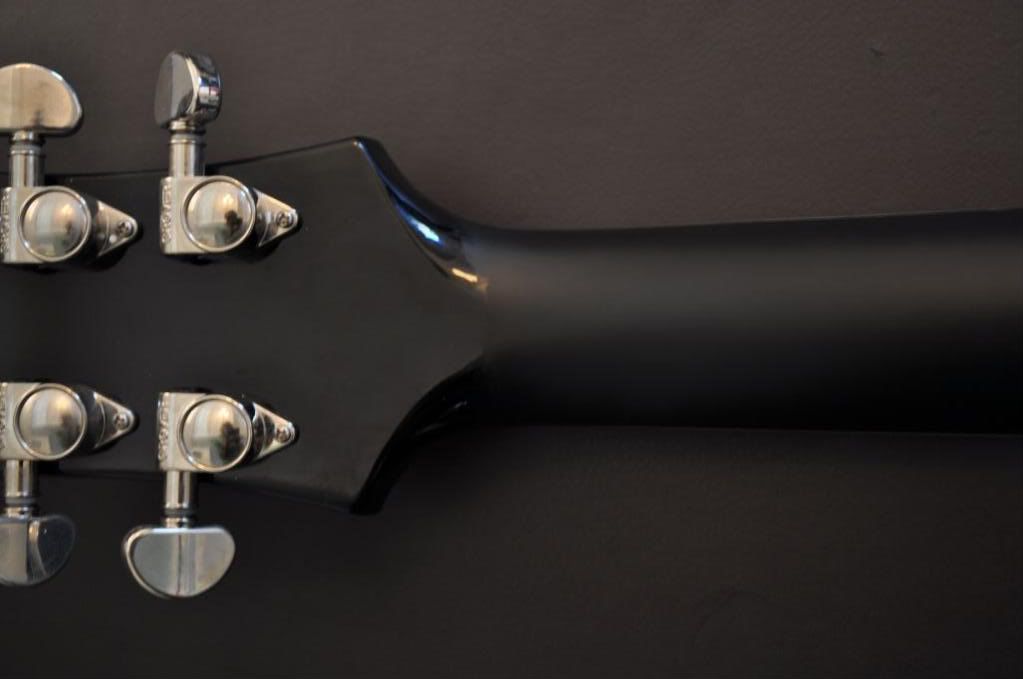
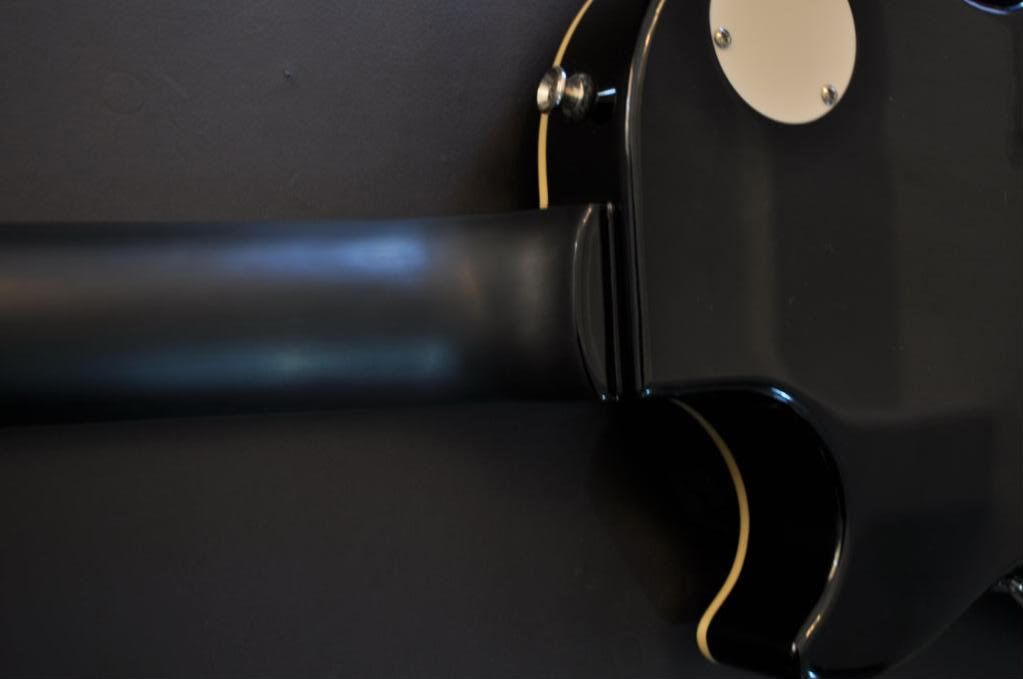
Wow! Really big difference compared to DRY sanding. I got a more uniform and much smoother result.


